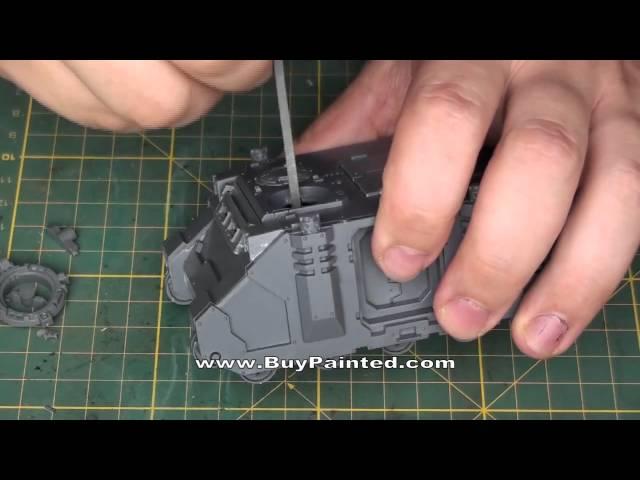
How to make removable hatches in the models? | Warhammer 40k | BuyPainted
Комментарии:

clever, clever, clever. I'll stick to magnets but I like this as a no extra cost method. Nice!
Ответить
wow, that was very ingenious - cheers
Ответить
Very creative! Well done and well explained.
Ответить
nice but how does the person fit in
Ответить
loved it. keep up with the good work
Ответить
komment
Ответить
I'm a fan of your work but you've over thought this one a bit. The turret holes are on the inside of the bulkhead in the driver compartment, find a megnetic coin (in the UK a 1p piece) and glue it to the underside. Putty magnets to the underside of the turret/hatch. Five minutes work all in.
Ответить
How is this useful? Im not being mean im just new to warhammer 40k haha :)
Ответить
You can use it to custom equipment for each battle. For example if you have some extra points you may add storm bolter turret. If you have lack points - just install normal turret
Ответить
simple but genious
Ответить
I am not as steady with a brush to paint all the intricte stuff in a professional way. So I got decal paper, used microsoft word doc, typed number and cut and paste pics from warhammer. Got them printed on the clear decal paper and stuck them on. Looks just as good. There are no rules and your imagination is the limit i suppose. Try it it works too.
Ответить
Awesome customization, though I personally prefer a small bit of BlueTack.
Ответить
Cool but were did u get decal paper from ?
Ответить
The post box won't let me post a web site address? Unsure why but I got it in Australia from w w w dot decalpaper dot c om dot au I am sure you can get the product online. Its as simple as printing and then use the decal as per normal - cut out put in water and the apply. You can get clear or white backed paper. Clear will have a transparent background, white will need to be trimmed to fit as it shows - white backing. :)
Ответить
great work man
Ответить
Прикольно)
Ответить


