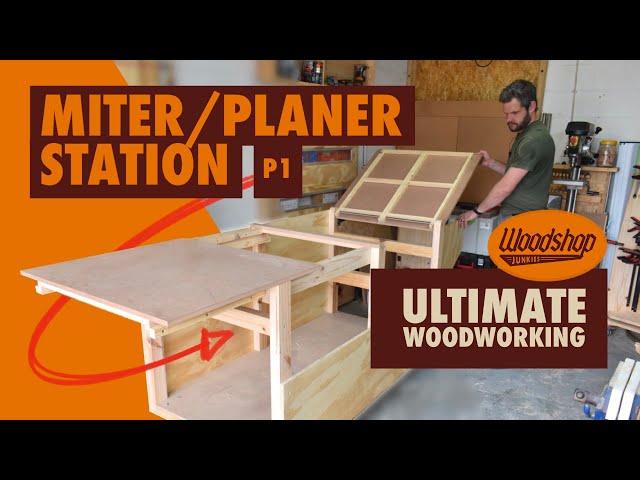
Ultimate Small Woodworking Workshop - Planer/Miter Bench NEW Design! P1
Комментарии:

Can't wait for the follow up 😊
Ответить
Really excited to see how this comes out. I thought your first design was amazing!
Ответить
Awesome job! I enjoyed how you did it and explained what you were doing. I am anticipating part two. Thank you.
Ответить
Great stuff! Excited to see how it’s all made. Will you be adding flip up plug sockets again?
Ответить
A couple of coats of Paste wax will make that mdf top virtually bullet proof to paint or glue. I coat all my work surfaces in it and it works great.
Ответить
I have a one car garage which I have many things stored in but I still want room for some wood working. Your ideas are excellent, and I look forward to your videos
Ответить
Lol I was just typing to ask why you use 2 different ways to extend the work bench.
And right at that moment, you explained why.
Love the videos keep it up

Great work as always Jean! Looking forward to the rest of the series! 👍👍
Ответить
Im impressed with the setup. Wish you came by about 8 weeks ago. Looking forward to seeing you soon ❤❤❤
Ответить
Thanks
Ответить
As usual, it’s at the same time simple ( or it seems) and very very clever ! 👏🏻👏🏻
Ответить
Excellent concept
Ответить
Finally :)
Ответить
Looking forward to seeing the rest of videos on this. Awesome design
Ответить
Looking great! Can’t wait for more!!
Ответить
Excellent.. will you be making your plans available for sale when it’s done. I’m looking to condense my work space and been racking my brain for solutions. Yours seem to solve all my issues ❤
Ответить
Cant wait to see UWB2.0!
Ответить
Ooooo, I love a cliffhanger! 😂
Ответить
Great to hear you are back on track. Makes me happy, because it won't be just back on track in the workplace.
And thats what is important.
Love this idea and project, i will follow it closely. Thanks!!

Hey Jean, you are looking so much better, take care of your health. I am sooo excited for this series, you are a inspiration for all of us with your brilliant and innovative ideas. Great job💫
Ответить
Looks great Jean. Looking forward to the rest. One thing you could add would be restractable wheels, so that you can moove it around, but then lock it solidly in one place when you want to use it.
Ответить
Love watching your builds, your ideas are way outside the box. I need to do something like this in my shop, while I am not exactly limited in space, my full sheet workbench has become a catch-all for everything else and isn't a workbench anymore; breaking it down into 2 or 3 carts like you're doing would let me get rid of my smaller carts and make better use of the space. Thanks so much for sharing and I will definitely be watching this build for sure !!!
Ответить
Nice, very nice. Look forward for the next Videos.👍🏻
Ответить
Very clever Jean. Looking forward to seeing the finished project. Really enjoy your channel!
Ответить
Thật tuyệt vời muốn đón xem dự án hoàn thiện ❤🎉
Ответить
Looking forward to the next episode, please keep them coming
Ответить
Wouldn't black form ply be a better top than MDF as it would be harder wearing and smooth so would enable items to slide better and be a nice level and flat surfaces?
Ответить
Good start for a minimised work bench for small work space Jean, BUT I was hoping you were going to do the airline track first. I have a retractable airline but it has its problems too. I’ve used the wire track for power due to the lack of power outlets I have to machines. Cheers 👍🏻🇦🇺
Ответить
Great work and clever ideas
Ответить
should have used lock washers on the caster bolts.
Ответить
Brilliant! Your ideas and vision is always spot on. I am not an artist / inovator / inventor, I am a copy cat, and for that reason, I hope you make and sell plans for these benches. looking foward to changing my shop layout. Thank you for all you do.
Ответить
Is it built to be the same height as your refurbished table saw? It would be a good idea so it can be used as an in feed/out feed table when making long rip cuts on the table saw.
Ответить
It looks as though you are going to have the miter saw and the planer attached to the top surface of your new table. Would it not be better to make it where the miter saw and the planer’s deck surface is the same as the table surface when they are in there folded out position so that there’s no height difference between the table and the equipment deck? I can tell you are very skilled and smart so I am sure you can figure out a way to make that possible.
Ответить
Can't wait for the full series. Your engineering is definitely top tier.
Ответить
Well, there’s a lot of planning that went into that bench design.
Ответить
I'm digging the conversational style of the video, keep up the good work!
Ответить
Always great concepts and ideas in your videos. Even for those not intending to fully copy your design, there are loads of takeaways and ideas that can be used in other projects. Looking forward to seeing how the build evolves!
Ответить
Excited for this series. I'm re-jigging my workbench for an upgraded table saw. Do you have any plans to include dust collection points on the new tables?
Ответить
Your original bench build got me subscribed to your channel, really interesting to see V2. I'm putting together a new workshop and these ideas look great.
Ответить
I am very impressed with the clarity of your design And your presentation I’m very looking forward to making one of your projects. Keep up the good work. Take care Roger.
Ответить
I've kind of had the same sort of idea rolling around in my head for a bit now. Nice to see someone else's ideas put into action.
Ответить
What I love about your builds is that they are genuinely creative/original/individual - not the same bench all over again, but a completely different idea 🎉 I love even just taking some part of your builds and adapting them to my own needs. Thank you for providing such inspiration! 🎉
Ответить
Truly impressive!! Practical, simple and compact!! Congratulations!!!
I also have a single car garage and your builds are an inspiration!!
Looking forward to the next chapters and plans!!

Looking good 🙂
Ответить
Very impressed about your creative af
Ответить
For the sliding top portion of the bench, I was initially wondering if a very small cut-out to give your fingers something to grab onto when you attempt to slide it, but then I thought that you'd likely prefer to keep the top as smooth as possible. Then I thought about some type of pop-up handle that would stay flat until pressed to activate it. I thought about this as you seemed to slightly struggle when you went to display the sliding function.
Beyond that, I love your builds! Keep up the great content!

Adding a backer board to the leg behind the table extension on the left side as you look at it will help transfer what load there is off the hinge and onto the boards like the right side is doing.
Ответить
creative idea every time.
Ответить
I have a very small shop so I love your builds. But I can't recommend getting yourself an impact driver enough! Screws with a drill is just so inefficient. There is no comparison. Trust me, bite the bullet and get yourself a decent driver!
Ответить
Great job. Well done
Ответить


