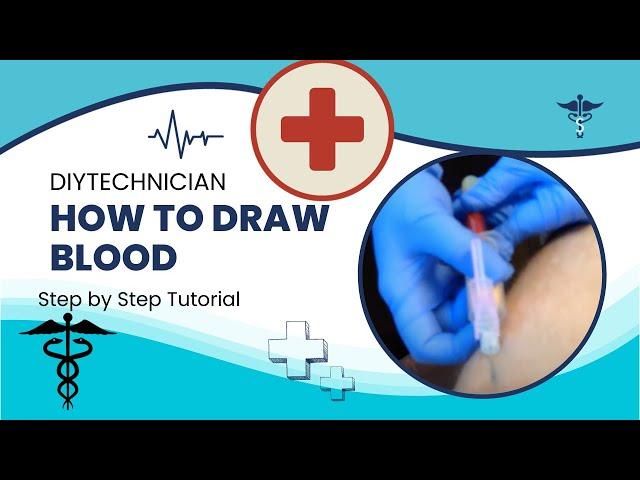
Mastering the Art of Phlebotomy: A Step-by-Step Guide on How to Draw Blood | Demonstration Tutorial
Buy me a coffee? https://www.buymeacoffee.com/diytechnician Buy me a coffee? https://www.buymeacoffee.com/diytechnician Welcome to our comprehensive tutorial on the art of drawing blood. As a phlebotomist, mastering this skill is crucial for accurate diagnoses and patient care. Today, we'll walk you through each step in the process, ensuring precision and comfort for both the phlebotomist and the patient."
Step 1: Preparation
"The first step in drawing blood is establishing a connection with the patient. Explain the procedure in simple terms, addressing any concerns or questions. Next, gather the necessary equipment: gloves, alcohol wipes, tourniquet, sterile needle, blood collection tubes, and adhesive bandages. Ensure the workspace is clean and organized."
Step 2: Patient Identification and Positioning
"Verify the patient's identity by asking for their name and date of birth while cross-checking with their ID bracelet. Position the patient comfortably, preferably in a chair or lying down, ensuring their arm is extended and supported at heart level."
Step 3: Vein Selection and Tourniquet Application
"Inspect the patient's arm for suitable veins, usually in the antecubital area. Apply the tourniquet a few inches above the intended puncture site, ensuring it's snug but not overly tight to avoid discomfort."
Step 4: Cleansing and Needle Insertion
"Put on gloves and clean the puncture site with an alcohol wipe in a circular motion, allowing it to dry completely. Firmly anchor the vein by gently tapping the skin and insert the needle swiftly at a 15-30 degree angle. Once in the vein, adjust the angle slightly and ensure a smooth, steady blood flow into the collection tubes."
Step 5: Tube Collection and Needle Removal
"Fill the required collection tubes in the correct order to avoid cross-contamination. As each tube fills, gently invert it to mix the blood with anticoagulants or clot activators. Once finished, release the tourniquet, remove the last tube, and apply gentle pressure with gauze at the puncture site while withdrawing the needle smoothly."
Step 6: Bandaging and Patient Care
"Discard the used needle in a sharps container and securely cap the collection tubes. Apply an adhesive bandage to the puncture site, ensuring it's secure but not too tight. Thank the patient for their cooperation and offer post-procedure care instructions."
Closing Thoughts:
"Drawing blood is both a science and an art that demands precision, empathy, and skill. Regular practice, attention to detail, and compassionate communication are vital for mastering this technique. Remember, each successful blood draw contributes to improved patient care and diagnostic accuracy."
[Closing Shot: The phlebotomist and patient smiling, indicating a successful and comfortable blood draw.]
"Thank you for joining us on this journey to master the essential skill of drawing blood. Stay tuned for more insights and techniques in the world of phlebotomy. Until next time, take care!"
Тэги:
#DIY #devil_doc #do_it_yourself #how_to #lesson #instructions #home #house #men #work #tutorial #step_by_step #for_dummies #idiot's_guide #simple #easy #weld #welding #tools #handyman #repair #mend #aid #help #assist #support #info #information #demo #demonstration #at_home #cheap #save #money #fix #repairs #urban #free #advice #advise #expert #pro #how_do_I #is_there #phlebotomy #blood #give_blood #draw #clinic #medical #tube #test_tube #vial #needle #syringe #ER #hospital #field #nurse #nursing #doctor #visit #health #healthcareКомментарии:


