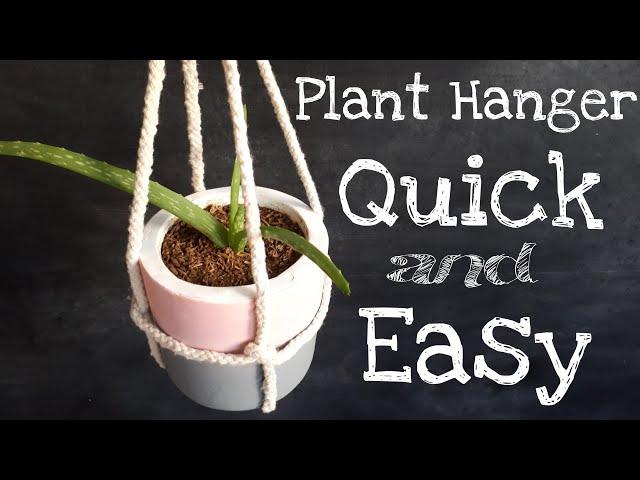
DIY | 1 MINUTE HANGING PLANTER - QUICK AND EASY | HANGING POT WITH ROPE
Комментарии:

Directions unclear. Dick tangled in rope. Please advise.
Ответить
Thanks helpful
Ответить
Thanks for the share great tip
❤

Thanks for sharing, good results 👍
Ответить
Where can I find the rope? Michaels?
Ответить
thankyou so much it did not work
Ответить
Excellent ❤
Ответить
Mine keeps slipping out
Ответить
Thank you! I saw a different version of this same thing, but this one was so much easier! Quick and straight to the point!
Ответить
167 cm = 65 3/4 “ +-
Ответить
Very helpful, I can now hang my plants in my window
Ответить
I needed my wife's help to hold the rope and she would have nothing to do with it 😢
Ответить
Thank you for this easy technique n❤
Ответить
Thank you so much..
Ответить
Thanks for sharing❤
Ответить
Thanks jow i can rest peacefully
Ответить
Just do a double-twist (or triple) on the first step and the bottom will hold a lot better
Ответить
One step missing for better stability.. You have to make a knot where the bottom of flowerpot is.. And then is better🎉
Ответить
I made this .... And it's so easy and beautiful ...❤❤
Ответить
Don't build this. There is nothing holding the loop together and unless the pot is perfectly centered it will slip and your pot full of moist soil will explode all over your living room.
Spend a few extra minutes and make a macramae style hanger. It requires the rope to be cut but it doesn't suffer this problem

Thank you
Ответить
I've got a weird shaped pot (an owl) that I hope this works for.
Ответить
absolutely brilliant - thankyou, great video with no complications!!!! xxx
Ответить
Impossible, watched over and over, didn’t work, got so mad I destroyed my room
Ответить
Not applicable for glass bottle
Ответить
I did this and rope slipped pot felt from 7th floor ,thank fully no one injured.
Ответить
Took me about 3 tries but I got it! I didn't have any rope so I used cotton yarn that I chained to the length and it turned out super cute. I managed to put the knot on the bottom side.
Ответить
It is so frustrating to get it right 😬
Ответить
Thankyou. Very nicely showing all the steps..
Ответить
Thanks a lots for sharing this video.I tried three times and the third time it worked perfectly .Good ideas Thanks once more.👍👍
Ответить
Very nice trick
Ответить
nice. it worked!
Ответить
What a wonderful video. I used this so we could provide a nice, controlled descent of an urn into the ground. Thank you so much for sharing!
Ответить
Very good idea I will try it definitely
Ответить
I tried&win at the first attempt. Nice one Thank you
Ответить
I did this at home .
Nyz thanks 🙏❤

This is fine for all these teeny tiny pots. But I have a larger pot that already has flowers flowing a little over the sides and beautiful but pretty much impossible over a larger pot with flowers in it. I find no instructions for a medium or larger pot with lots of growth.
Ответить
Di ko ma gets. Ang gulo
Ответить
saved me money thank u
Ответить
THIS WONT WORK FOR ME 😭😭😭😭
Ответить
Thanks for the video. It’s a smart idea to attempt this a few times first with a plastic pot until you get it right just incase you make a mistake, you don’t want to be breaking your nice ceramic pot 🙆🏼♀️🙂
Ответить
I just can’t come close to getting it
Ответить
simpel
Ответить
Perfect...clean ..slick . Direct ,usefull
Ответить
Your video was PERFECT! Nice & clear, so easy to see which bits go where! I'm doing it - FINALLY! Thank you, thanks you!
Ответить
nice
Ответить
This is very short video 😊
Ответить
THANK YOU!!
Ответить
Worked great for my very small plants, but not strong enough for the bigger pots. I loved it, thank you!! ❤😊
Ответить
This is brilliant, and thank you for not including a fast-talking preamble on the history of planters, or begging to "subscribe, like and hit the notification bell". Subscribed, keep these coming, please.
Ответить


