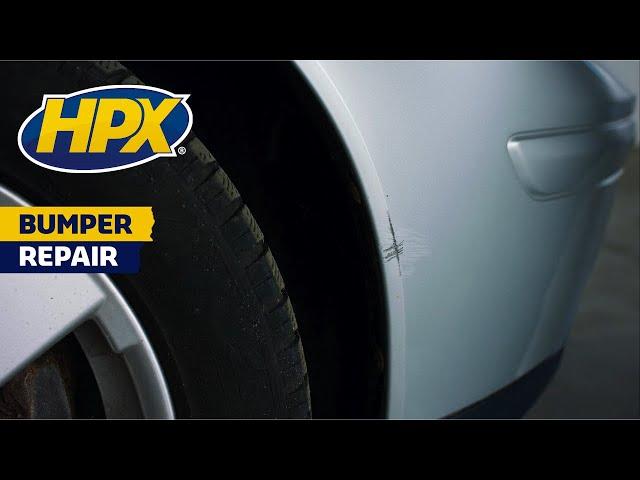
How to repair a damaged bumper with HPX
A step-by-step guide on how to fix the bumper of your car with the help of HPX adhesive tape and non-paint automotive products.
Step 1: Remove any rust or old paint layers by sanding the surface.
Step 2: Clean and degrease the surface to be treated with a degreaser.
Step 3: Mix the plastic putty and apply in the desired layer thickness. Let it dry for about 2 hours.
Step 4: Sand the surface again and clean the surface with a degreaser.
Step 5: Tape off an ample area around the surface with HPX 4400 Fine Line Masking Tape (https://hpx.eu/en/product/masking-4400-fine-line/).
Step 6: Apply the filler in several thin layers and let it dry for about 2 hours.
Step 7: Apply a layer of the sanding key aid and lightly sand the surface.
Step 8: Clean and degrease the surface again.
Step 9: Use the MoTip Colour Search app to find the right colour paint for your car.
Step 10: Apply the lacquer in several thin layers and let it dry well for about 2 hours.
Step 11: Apply two overlapping layers of clear lacquer, use spot blender if needed. Let it dry thoroughly.
Step 12: Take off the tape.
Types of sanding paper can be found in the video.
At the end of the video you will find a list of all products used including MoTip (https://www.motip.com).
For more info on the HPX product range go to: https://www.hpx.eu or ask your local supplier!
Тэги:
#HPX #Motip #How_to #Bumper #Bumper_repair #AutomotiveКомментарии:
MAGA Piers Morgan’s DIRTY SECRET Finally REVEALED!
Luke Beasley
Quail Sound 2 Hours High Resolution
Reda Aouzal
SUPRAVIEȚUIM AFARĂ ⏰ 24 de ORE SĂRAC vs BOGAT (Partea 1)
Familia MELIMI
Hungarian Dance mix 2016-Dj Kéri
Kéri Béla Dj Kéri
Территория здоровья видео
Гудвилл Медиа


![[NoZoom] The Simpsons Season 23 Ep.05 - | The Simpsons 2024 Full Episodes | NoCuts NoZoom #1080p [NoZoom] The Simpsons Season 23 Ep.05 - | The Simpsons 2024 Full Episodes | NoCuts NoZoom #1080p](https://rtube.cc/img/upload/RWFPSVJvSy10S0g.jpg)


