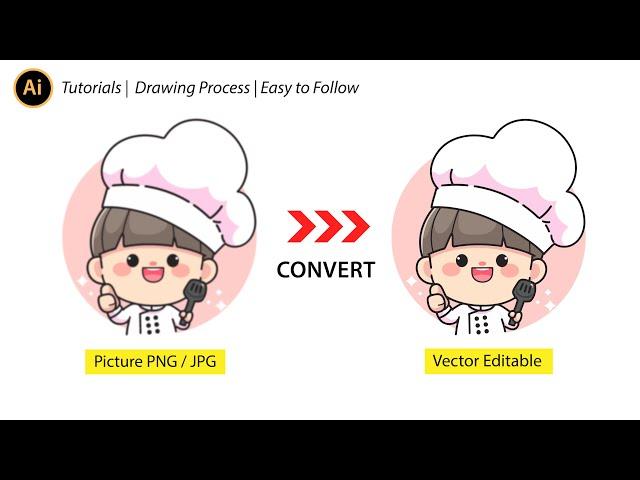
Convert PNG or JPG to Vector - Adobe Illustrator tutorial
Комментарии:

This video is very useful for tee shirt designers. Thank you.
Ответить
Thank you so much 🙏
Ответить
Helps a lot
Ответить
Thanks best video I've seen. So many others don't show in simple terms like this.
Ответить
Este video me salvo la vida, muchas gracias, excelente explicación y concreto, exitos
Ответить
hi, can i convert a file with 250 jpg sequence images to vector in the same time?
Ответить
Too Good. Sir. Thank you.
Ответить
BEST VIDEO. SHORT AND STRAIGHT TO THE POINT 👌 no unnecessary talking
Ответить
Excellent Video, Short and to easy to follow.
Ответить
Very useful video. Thanks
Ответить
Awesome, thanks
Ответить
Do I need paid version to do this?
Ответить
This was so easy to follow! Thank you so much 😊
Ответить
Voice is VERY bass distorted from being too close to mike, maybe. Video is too fast, needs a reasonable pause where I can pause video to go do each step. Also pause just before clicking the menu choice so I can make sure I see it. Fast pace is nice, nut you sacrificed functionality.
Ответить
thank you for convincing me that this is the better option. I was going to shell out hundreds for an iPad to have access to Procreate. I'm on a Samsungtablet now and I have an S Pen Pro. I would have to spend 500 bucks or more for the iPad, 100 for the apple pencil, a screen protector, a folio case, 10 bucks for procreate... I don't even wanna do the math. Bottom line, stick with my current equip and pay 20 bucks a month for adobe instead.
Ответить
Ai used properly and with taste, the music made the tutorial pleasurable. thank you
Ответить
Can u you show those steps in the latest version of cc
Ответить
For line drawings, it is easier to use the "Convert sketch to vector" feature in Illustrator:
1. create a new file
2. press F1
3. click on "Quick actions" under "Browse"
4. click on "Convert sketch to vector
5. File > Place and choose the PNG or JPG file
6. click on the canvas to place the file
7. click "Apply"
8. Click on the "Image Trace Panel" to make custom adjustments
9. Object > Expand
10. Object > Ungroup

TNX man you helped me alot in persian i can say kireto bokhoram ❤
Ответить
im try all videos before , but as lesult, only one, this video helped me alot .. Thanks ♥
Ответить
I dont know if i did something wrong but it looks pretty bad as a vektor... is there anything i can do? I need it as a print for a shirt
Ответить
how do you export it
Ответить
Excellent tutorial¡ Thank you so much.
Ответить
Thank you!!! excellent video!!!
Ответить
Thank you so much !!!
Ответить
Thank you sir
Ответить
the problem for me is that the image trace is making my symbol be disfigured, how I would resolve this?
Ответить
thank you for this tips. you have a new subscriber to your channel. 👍
Ответить
Thank you so much! This video is very helpful :)
Ответить
thaaaaaaaaaaamk u sooooooooooooooooooooooooooo much
Ответить
That's great, but what if there is text in the image and we want to change spelling of it?
Ответить
Thank you👍 You saved me a ton of times
Ответить
thank you so so so much
Ответить
OMG HOW MAGNIFICENT !
Ответить
EMEJINGGGG
Ответить
Yehh!!! I can do it now. Thank you for such easy to follow tutorial. Hope to see more of this kind of tutorials.
Ответить
For me, I had a black and white, and when it traced it changed the image and kinda ruined it.
Ответить
Thanks man I always forget to expand it.. Illustrator be wildin and making shit seem like brain surgery sometimes
Ответить
Can we do it using gimp or any other free software ??
Ответить
it didnt worked well on my AI generated image but thankj you
Ответить
Thanks
Ответить
❤
Ответить
THANK YOUUUU IDEDOBE!!!!!!!!!!!!!🙌🙏
Ответить
🙏🙏🙏🙏🙏🙏🙏🙏🙏🙏🙏🙏🙏🙏
Ответить
Thanksssssss
Ответить
MAAAN THANK YOU
Ответить
It starts with insert Image but what is your project settings? RGB ...etc....short shorter...
Ответить
