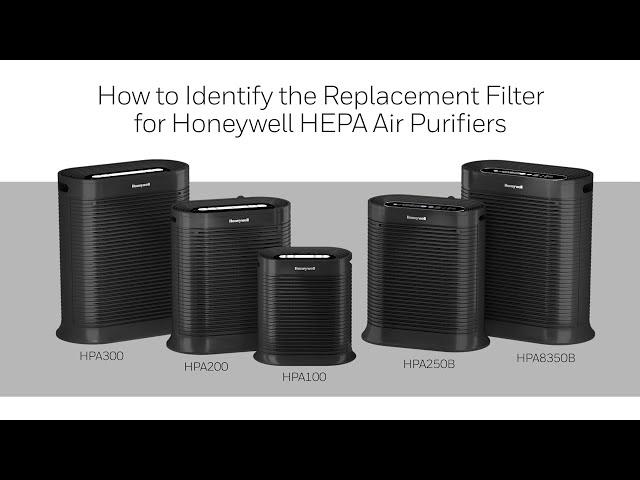
How to Identify the Replacement Filter for Honeywell HEPA Air Purifiers
How to identify the Replacement Filter in your Honeywell HEPA Air Purifier.
When the HEPA filter(s) need to be replaced, the Check Filter light will illuminate on the control panel. Depending on your air purifier model, you will need 1-3 Filters. The HEPA filter should be replaced every 12 months, and the Pre-Filter every 3 months. The air purifier filters are identified by a letter. Each air purifier has labels to advise which replacement filter fits the device.
Turn off the unit, unplug and remove the front grille. Remove and discard the dirty the Pre-Filter and the HEPA Filter(s). Remove your new HEPA filter(s) R from the packaging. Ensure the plastic wrap has been removed. Use only Genuine Honeywell HEPA Replacement Filters.
Make sure the arrows on the filter are facing up and inwards. Ensure that the red Honeywell pull tabs are facing outward. Insert the filter(s) by placing it into the opening. Press the filter(s) into place. Replace the Pre-Filter. Replace the front grille and plug in your Air Purifier.
To reset the Check Filter light, turn the unit on, press the button and hold for 2 seconds until the light turns off.
Комментарии:
How to Identify the Replacement Filter for Honeywell HEPA Air Purifiers
Honeywell Plugged In
Street pop up moments with Jackie Njeri
Kristo Clear
Asian Tour | Thailand - Part I
Sergi Martínez Miró
මාස 6 පස්සේ ලංකාවට ගියා. Airport එකේදි වුන දේවල්.️
Kavindya Dulshani Official


