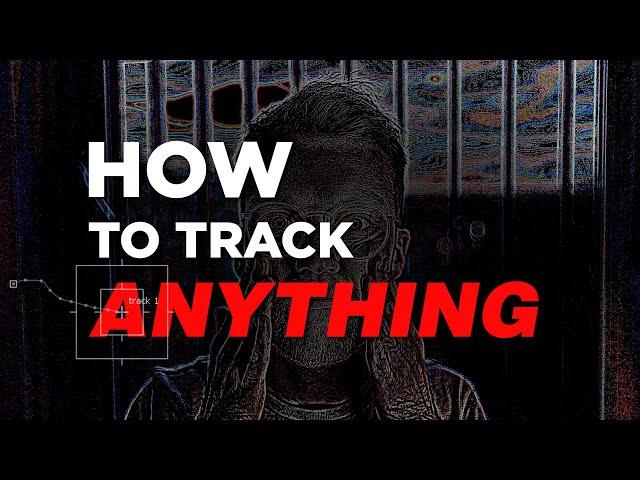
How To Track ANYTHING! (Frequency Separation)
Комментарии:

This was great, thanks Alfie
Ответить
<3
Ответить
💪
Ответить
Cant thank you enough on high valuable and underrated this is. Please keep them coming 🙏
Ответить
Good stuff
Ответить
Can you please do same with after effect !! That would be so helpful
Ответить
That was super helpful Alfie. Even am a Fusion user this is applicable. Would love to see if you could do a tutorial of how to remove, say, an eyebrow on a moving subject.
Ответить
A similar technioque is used to sharpen images in photography but I never considered using it to help with tracking in video ... GENIUS! I edit in DaVinci Resolve Studio but this is totally doable there as well I think. I'll test that out when I get back to my desk later.
Genius.

Flippin’ brilliant! Cheers Alfie, I’ll be using that.
Ответить
Interesting method. Thanks.
Ответить
It’s so simple and obvious I don’t know why it isn’t more common! Thanks for this great tip 🙏🏾
Ответить
hp(x,y) = sigma(x,y) - lp(x,y)
g= f*hp

he does not miss!
Ответить
I learned something very important today.
Ответить
This is a handy technique. Thank you so much for sharing.
Ответить
The ‘laplacian’ node does the same operation in one node instead of two.
Learned that in my last job.

Love when you post. Would love to see more!
Ответить
Wonderful tutorial! Thank you so much! Please make more :D
Ответить
So dope. Love seeing stuff like this that's not a beginner tip and also a technique that's applicable to any compositing program.
Ответить
Thanks for this great info. :D Do you know if it´s possible with the same method in Blender?
Ответить
This is brilliant. Gonna be setting this up to do in Resolve for sure
Ответить
so simple and so genius! Thanks a lot for this tip!
Ответить
Great vid! This will help me track those pesky areas
Ответить
This seem to be like using the PixelFudger BandPass node...
Ответить
What a great tip, so simple and useful. Thank for sharing 🙏
Ответить
I'm a senior comper, 12 years with Nuke, and Ive done frequency separation for paint work for years but I'd never thought to use it for tracking. Thx for the tip.
Ответить
Great tip Alfie, thanks for that! If you haven't already done one on this I'd love to see some tips/tricks on creating depth passes in nuke when you're NOT provided one from the CG folks and have to create something using just the plate.
Ответить
superbe !
there is also this tool : pxf_bandpass from the pxf_fudger toolsets of Xavier Bourque.
which is great for tracking.

can you show face tracking , like you track your face and put iroman ?
Ответить
Brilliant! I believe @ChrisVranos did something similar via Lockdown for After Effects, and it's super effective!
Ответить
Its Amaizing, Really Creative workfow
Ответить
Hey ! Ive found a way to do this in Fusion Studio.
Footage> Blur>
use channel boolean instead of merge.
use Footage as Background, Blur as Foreground, then,
use color gain to control the Gain and Gamma.

If your merge's B pipe is from the non blurred plate, is it not better to use 'from' instead of 'minus'? It looks much more detailed to me. How about using freq separation with smart vectors? Would they benefit?
Ответить
This is the kind of tips that's needed. There are tons of VFX videos who just skips past the complexity of tracking to just show the cool stuff, but the cool stuff is mostly the easiest compared to getting a really good track. Especially since all the damn videos on tracking always shows "empty" footage without any filmed people or complex events in frame while real film footage usually has... actors.... and practical effects and stuff like that. So super advanced tracking tricks and tips are really rare to find. I hope you do even more videos on different tracking tricks for different types of situations because this was really helpful! Thanks!
Ответить
very thanks for
Ответить
I don't have nuke anymore haha
Ответить
Moreeee tracking tutorials to come 🫠
Ответить
This One so simple yet so good trick was stuck at the same issue for the skin tracking it messes up the tracker as it is almost flat , Thanks
Ответить